Get a free VPS (for life) from Google Cloud
To get a free VPS server from Google Cloud, for life via the “free program”. There are a few constraints, however: you’ll need a valid credit card (even though there’s no cost with the free VPS, it’s necessary, mainly to validate your account), and your server will be in the USA (the free offer isn’t available in European regions).
To find out more, here’s the official Google Cloud Free Program documentation.
In this article, we’ll look at how to get a free VPS for life. Worth $8 per month. A word of warning: although it’s free, outgoing traffic to certain regions (China, Australia) is not. So if you have visitors from these regions, you’ll be charged a few cents.
Google’s VPS is called “Compute Engine”. Thanks to the free offer, we’ll be entitled to an e2-micro instance, with 30GB per month and in the Oregon (us-west1), Iowa (us-central1) and South Carolina (us-east-1) regions.
After registering, the first step is to go to your Dashboard https://console.cloud.google.com/. If you don’t have a project, you’ll need to create one. In the left-hand side menu, go to the “Compute Engine” area.
If you are accessing the service for the first time, you will be asked to activate it. Activate it. VM creation is now available on your account!
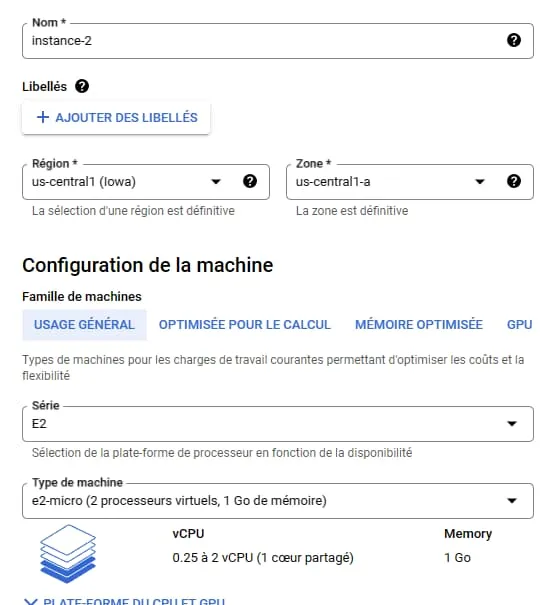
Click on the “Create an instance” button. A form should appear. You can give the VM any name you like. Be careful to choose a region that has the free offer. As previously mentioned, this concerns the Oregon (us-west1), Iowa (us-central1) and South Carolina (us-east-1) regions. In “Machine type”, choose e2-micro (2 virtual processors, 1GB memory).
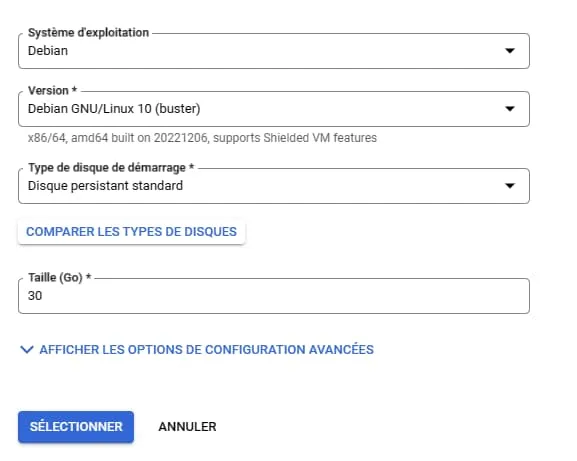
In the “Startup disk” option, click on “Modify”. You’ll be given a choice of operating system (this doesn’t matter for the free offer, as long as it’s Linux). We’re entitled to a 30GB disk with the free offer. Be sure to enter 30 in the “Size (GB)” field. With the “Standard persistent disk” option for boot disk type (see screenshot).
If you want to host your website. In the “Firewall” section, activate HTTP and HTTPS. As shown below.

This brings us to the final step. Open “Advanced Options”, “Networking” then “Network Interfaces”. Click on “default” and in “Network service level” select “Standard” instead of the default “Premium”.

The monthly estimate will normally show you US$7.31 (at least at the time of writing). This is normal, as the free tier is not displayed here. But if you’ve followed the configuration correctly, you won’t be charged (except potentially outgoing traffic if it exceeds 1GB or China/Australia). You can now click on “Create”.
That’s it! You now have a VPS with the operating system of your choice free of charge in the Google Cloud.